The hammering has stopped. The sawdust has settled. You're finally looking at your beautiful new renovation... buried under a layer of fine dust and debris. Post-renovation cleaning can feel like a monumental task. That fine, gritty construction dust seems to get everywhere, and regular cleaning just won't cut it.
But don't let the cleanup dim your excitement. With a strategic approach and the right tools, you can efficiently transform your construction zone back into a comfortable, dust-free home. This isn't your typical weekly tidy; it's a systematic deep clean. Let's break it down into manageable phases.
Phase 1: The Big Debris Removal (Safety First!)
Before you even think about dust, you need to clear the stage. This initial phase is about removing the obvious, larger pieces of debris.
-
Gear Up: Put on durable gloves, safety glasses, and a dust mask. Renovation dust can contain irritants.
-
Manual Labor: Start by picking up large scraps of wood, drywall, packaging materials, and any other sizable debris by hand or with a broom and dustpan.
-
Why This Comes First: Trying to vacuum large debris can damage your machine or clog it instantly. Clearing the big items manually makes the next phases much more effective.
Phase 2: The Dry Dust Assault - Choosing Your Weapon
This is the most critical phase: tackling the fine, abrasive dust that coats every surface. A regular household vacuum often isn't powerful enough and can even blow fine dust back into the air. For this job, you need a vacuum built for punishment.
What to Look For in a Post-Renovation Vacuum:
-
Powerful Suction: You need strong, consistent suction to pull dust out of cracks, crevices, and porous surfaces.
-
HEPA Filtration: This is non-negotiable. A true HEPA filter traps the finest plaster and drywall dust particles (as small as 0.3 microns), preventing them from being recirculated into the air you breathe.
-
Durable Design: The vacuum should be able to handle fine dust without clogging quickly. A large dustbin is a major advantage.
The Cleaning Order is Key: Always clean from the top down. If you vacuum the floor first, dust from the ceiling and walls will just settle back on it. Follow this sequence:
-
Ceilings and Walls: Use a soft brush attachment to gently vacuum ceilings, light fixtures, corners (cobweb attachments are perfect), and all walls.
-
Furniture and Shelving: Vacuum all surfaces of any furniture left in the room. If possible, wipe down with a damp cloth afterward.
-
Floors: Finally, tackle the floors. Go slowly, making multiple passes in different directions to pull up all the dust embedded in the floorboards or grout.
Phase 3: The Wet Clean - Banishing the Last Traces
After the dry dust is gone, it's time for a wet clean to remove the sticky residue that vacuuming can't.
-
Hard Surfaces: Wash all hard surfaces—windows, window sills, shelves, cabinets, and floors—with a mild detergent and water. Change your water frequently as it will get dirty quickly.
-
Mopping: For hard floors, a thorough mopping is essential. A vacuum-and-wash machine can be incredibly efficient here, sucking up lingering dust while leaving a clean, damp surface behind.
Phase 4: The Final Touch - Air Quality
Even after cleaning, some dust may remain in the air. Run an air purifier with a HEPA filter for a day or two to capture any remaining airborne particles. Wipe down all surfaces one final time with a microfiber cloth.
While a heavy-duty, dedicated wet/dry vacuum is ideal for the initial major cleanup, the reality is that you'll want to maintain that pristine feel long after the renovation is over.
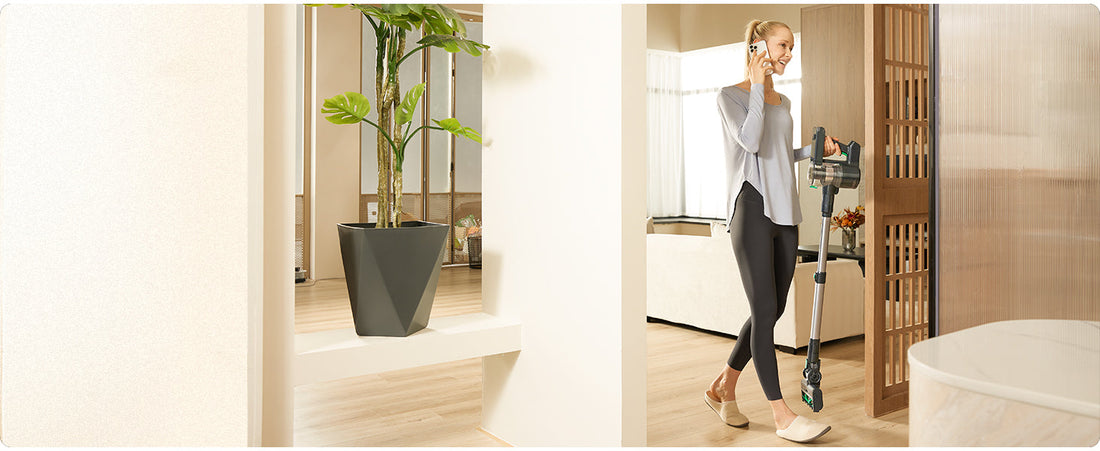
This is where a versatile, powerful daily vacuum becomes invaluable. The Vactidy Blitz V12 Cordless Vacuum Cleaner (marketed as Vexilar V12 in certain international markets) is perfectly suited for the ongoing battle against the lingering dust that can appear weeks after a renovation. Its high-precision filtration system ensures that the fine dust you pick up stays trapped, not expelled back into your newly clean air.
While it might not be the first tool you grab for the initial drywall dust avalanche, its powerful 48 kPa suction and multiple accessories make it ideal for the detailed cleaning of furniture, corners, and floors in the days and weeks that follow. The 2-in-1 vacuuming and washing feature is perfect for that essential final mopping phase, ensuring you remove the last sticky film of dust. It’s the perfect tool to help you maintain the sparkle of your newly renovated space with ease.
The dust settles. Your home shouldn't have to.