You bought a robot vacuum to save time, but are you actually getting the most efficient clean possible? Many robot vacuum owners don't realize that with a few simple adjustments, they could cut cleaning time by 30% or more while achieving better results.
After testing countless robot vacuums in real homes, I've discovered the secrets that separate mediocre cleaning from truly exceptional performance. Let's transform your robot from a random wanderer into a precision cleaning machine.
Understanding How Robot Vacuum Navigation Works
The Technology Behind the Clean
Most modern robot vacuums use one of two navigation systems:
-
LiDAR-based navigation (the gold standard for precision)
-
Camera-based navigation (good but affected by lighting)
-
Basic sensor navigation (older models, less efficient)
Knowing your robot's navigation type helps you understand its limitations and strengths.
Pro Tip #1: Master the Art of Strategic Furniture Arrangement
Create Cleaning-Friendly Pathways
You'd be surprised how much furniture placement affects cleaning efficiency:
-
Leave 12-18 inch gaps between furniture pieces
-
Elevate low-clearance furniture with furniture risers
-
Use uniform leg styles on chairs and tables
-
Minimize floor clutter - every object is an obstacle
The "Robot's Eye View" Technique
Get down on your hands and knees and look at your room from your robot's perspective. You'll immediately spot potential navigation challenges.
Pro Tip #2: Optimize Virtual Wall and No-Go Zone Placement
Strategic Barrier Setting
Virtual barriers aren't just for keeping robots out of trouble - they can dramatically improve efficiency:
-
Create cleaning corridors to guide movement
-
Block small, complex areas that waste disproportionate time
-
Protect charging cables and delicate items
-
Create logical room divisions for systematic cleaning
The 30-Second Rule
If your robot spends more than 30 seconds in a small, complex area, consider adding a virtual barrier.
Pro Tip #3: Implement Smart Cleaning Scheduling
Timing is Everything
-
Schedule during daylight hours for camera-based robots
-
Run when home is empty to avoid interruptions
-
Avoid meal preparation times when floor debris increases
-
Consider noise sensitivity times for household members
Frequency Optimization
-
High-traffic areas: Daily cleaning
-
Medium-use rooms: Every other day
-
Low-traffic spaces: Weekly cleaning
-
Always empty bin before scheduled cleans
Pro Tip #4: Master Multi-Room Cleaning Sequences
The Optimal Cleaning Order
Clean rooms in this sequence for maximum efficiency:
-
Furthest room first - prevents tracked debris
-
Hard floors before carpets - more efficient movement
-
Least cluttered to most cluttered - builds momentum
-
Kitchen last - contains food debris spread
Zone Cleaning Strategy
For quick cleanups, use zone cleaning rather than whole-house runs:
-
Focus on high-traffic areas
-
Clean problem zones between full cleans
-
Target specific mess types with appropriate settings
Pro Tip #5: Optimize for Your Specific Floor Types
Surface-Specific Settings
-
Hard floors: Medium suction, highest speed
-
Low-pile carpets: High suction, medium speed
-
High-pile carpets: Max suction, slowest speed
-
Mixed surfaces: Adaptive mode if available
Transition Management
-
Use transition strips between different floor types
-
Clean sensors regularly for better surface detection
-
Adjust suction settings manually for challenging transitions
Pro Tip #6: Regular Maintenance for Peak Performance
Keep Your Robot in Top Shape
A well-maintained robot cleans more efficiently:
-
Clean sensors weekly - dirty sensors cause inefficient paths
-
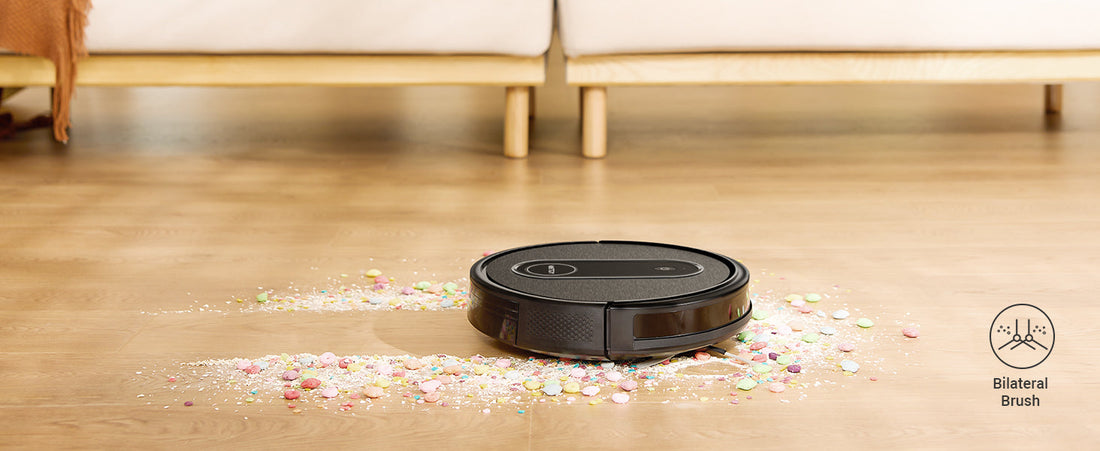
Check brushes after every clean - wrapped hair reduces effectiveness
-
Maintain filter efficiency - clogged filters reduce suction and increase cleaning time
-
Update software regularly - navigation improvements often included
The 2-Minute Daily Check
-
Quick visual inspection
-
Empty dustbin
-
Wipe sensors with dry cloth
-
Check for obvious obstacles
Pro Tip #7: Leverage Smart Features Effectively
Modern Conveniences That Actually Help
-
Room naming: Helps with selective cleaning
-
Cleaning history: Identifies problem areas
-
Custom routines: Tailored to your lifestyle
-
Voice control: Quick cleaning commands
Features to Use Sparingly
-
Extra scrubbing modes: Only when needed
-
Maximum suction: Drains battery faster
-
Wet mopping: Requires manual preparation
Putting It All Together: A Real-World Example
The Efficient Cleaning Routine
Here's how these tips work together:
-
Monday-Friday: Quick morning clean of high-traffic areas
-
Wednesday: Medium clean of entire main level
-
Saturday: Deep clean with full system check
-
Sunday: Rest day for robot and owner!
Why Advanced Navigation Matters: The Cleanova W11 Advantage
While these optimization techniques work with any robot vacuum, having advanced technology like that found in the Cleanova W11 Robot Vacuum Cleaner makes the process significantly easier and more effective.
The LiDAR Technology for Precise 360° Scans creates accurate maps that allow for truly optimized cleaning paths. Unlike basic robots that clean in random patterns, the Cleanova W11 uses systematic back-and-forth movements that cover more ground in less time.
The 180 Minutes Running Time means it can handle even large homes without interruption, while the 5000 Pa Strong Suction Power ensures it's not just covering ground efficiently - it's actually cleaning effectively.
What makes the Cleanova W11 particularly good for optimization is its smart mapping capabilities that remember your home's layout and allow for customized cleaning routines. You can set up virtual no-go zones around problem areas, schedule cleaning for specific rooms at optimal times, and even adjust suction power for different floor types - all factors that contribute to more efficient cleaning paths.
Your Optimization Action Plan
This Week
-
Do the "robot's eye view" inspection
-
Set up virtual barriers for problem areas
-
Establish a cleaning schedule that matches your lifestyle
-
Perform full maintenance on your robot
This Month
-
Track cleaning times to measure improvement
-
Adjust furniture placement for better flow
-
Experiment with different suction settings
-
Review cleaning maps for inefficiencies
Ongoing
-
Monthly deep maintenance
-
Quarterly strategy review
-
Software update checks
-
Performance optimization
Remember: the goal isn't perfection - it's continuous improvement. Small adjustments can add up to significant time savings and better cleaning results over time.
Your robot vacuum is a sophisticated tool, and like any tool, it works best when you understand how to use it effectively. With these optimization strategies, you'll not only get cleaner floors but also reclaim valuable time in your day.